CSS Pseudo Classes
Introduction to CSS Pseudo Classes
CSS pseudo classes elements की special states को design करने के लिए use की जाती है जो document tree में available नहीं है और जिन्हें regular CSS selectors द्वारा नहीं target किया जा सकता है।
जैसा की आपको पता है किसी भी HTML document का document tree web browser द्वारा automatically create किया जाता है। यह document tree उस HTML document में developer द्वारा define किये गए सभी HTML elements से बना होता है जिन्हें CSS द्वारा आसानी से access और design किया जा सकता है।
लेकिन कई बार कुछ ऐसी conditions और states होती है जिनके बारे में document tree में कोई information नहीं होती है। इन्हीं conditions और states को target करने के लिए pseudo classes use की जाती है।
उदाहरण के लिए आप mouse hover किये जाने पर किसी paragraph के color को red करना चाहते है। लेकिन ऐसा आप किसी normal CSS selector द्वारा नहीं कर सकते है क्योंकि यह एक special state जो user द्वारा generate होती है और document tree में इससे related कोई information नहीं होती है।
इसी प्रकार यदि आप किसी document के सिर्फ पहले paragraph का text color blue करना चाहते है तो इस प्रकार की conditions को भी normal CSS selectors द्वारा नहीं target किया जा सकता है। हालाँकि वह paragraph document tree में होगा लेकिन उसे target करने के लिए कोई selector available नहीं है।
इसी प्रकार की और भी कई महत्वपूर्ण states को design करने के लिए CSS में pseudo classes को introduce किया गया है। जिनके बारे में आगे detail से बताया जाएगा। लेकिन आइये उससे पहले pseudo classes के syntax के बारे में जानने का प्रयास करते है।
Syntax of CSS Pseudo Classes
CSS pseudo classes का general syntax निचे दिया जा रहा है।
selector:pseudo-class
{
    property-name:value;
}
CSS pseudo के syntax से सम्बंधित एक बात आपको हमेशा ध्यान रखनी चाहिए। Pseudo classes हमेशा colon (:) के साथ start होती है।
आइये अब CSS में available अलग अलग pseudo classes के बारे में जानने का प्रयास करते है।
Complete List of CSS Pseudo Classes CSS में available सभी pseudo classes को निचे उदाहरण सहित समझाया जा रहा है।
:link
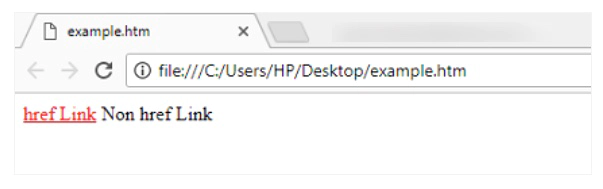
यह anchor pseudo class सिर्फ उन्हीं anchor tags को target करती है जिनमें href attribute define किया गया है। बाकी anchor tags skip कर दिए जाते है। यह class कई महत्वपूर्ण cases में useful होती है। इसे निचे उदाहरण द्वारा समझाया जा रहा है।
<html>

<head>
<style>
a:link
{
   color:red;
}
</style>
</head>

<body>
<a href="some-url-here">href Link</a>
<a>Non href Link</a>
</body>

</html>
ऊपर दिया गया उदाहरण निचे दिया गया output generate करता है।
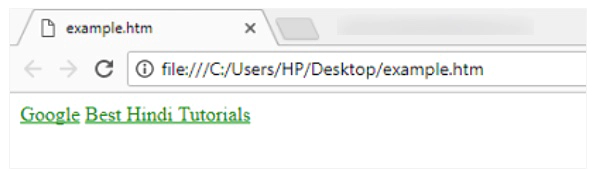
:visited
यह pseudo class सिर्फ ऐसी links को target करती है जो visit की जा चुकी है। इसे निचे उदाहरण द्वारा समझाया जा रहा है।
<html>

<head>

<style>
a:visited
{
   color:green;
}
</style>

</head>

<body>
<a href="https://www.google.co.in">Google</a>
<a href="http://www.hindimepadhai.com">Best Hindi Tutorials</a>
</body>

</html>
ऊपर दिया गया उदाहरण निचे दिया गया output generate करता है।
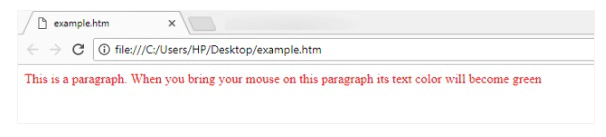
:hover
जब mouse का cursor किसी element पर ले जाया जाता है तो वह element hover state में चला जाता है। यह class उसी hover state को target करने के लिए use की जाती है। इसे निचे उदाहरण द्वारा समझाया जा रहा है।
<html>

<head>

<style>
p:hover
{
   color:red;
}
</style>

</head>

<body>
<p>This is a paragraph. When you bring your mouse on this paragraph its text color will become green</p>
</body>

</html>
ऊपर दिया गया उदाहरण निचे दिया गया output generate करता है।
:active
यह class किसी link या button की pressed state को target करने के लिए use की जाती है। इसे निचे उदाहरण द्वारा समझाया जा रहा है।
<html>

<head>

<style>
a:active
{
   color:yellow;
}
</style>

</head>

<body>
<p>Below link color turns yellow during its pressed state</p>
<a href="some-link-here">Link</a>
</body>

</html>
ऊपर दिया गया उदाहरण निचे दिया गया output generate करता है।

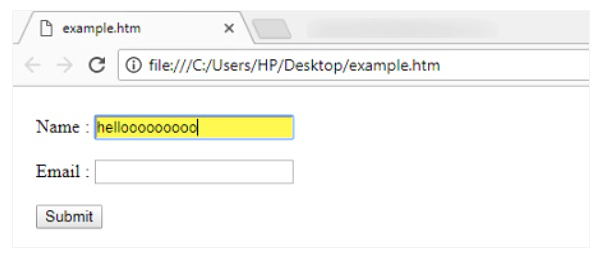
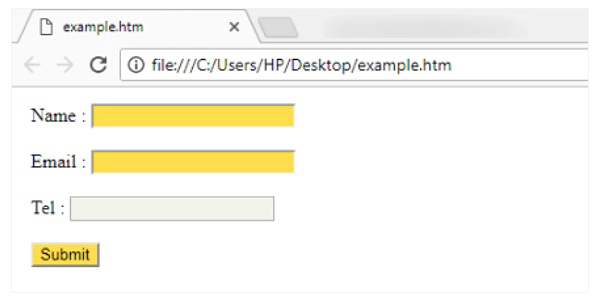
:focus
जब कोई element focus में आता है तो उस state को target करने के लिए यह pseudo class use की जाती है। यह class मुख्यतः उन्हीं elements को target करती है जो keyboard के माध्यम से input लेते है। इसे निचे उदाहरण के द्वारा समझाया जा रहा है।
<html>

<head>

<style>
input:focus
{
   background-color:yellow;
   color:black;
}
</style>
</head>

<body>
<form>
Name : <input type="text" name="Name"> <br /> <br />
Email : <input type="email" name="Email"> <br /> <br />
<input type="submit" value="Submit">
</form>
</body>

</html>
ऊपर दिया गया उदाहरण निचे दिया गया output generate करता है।
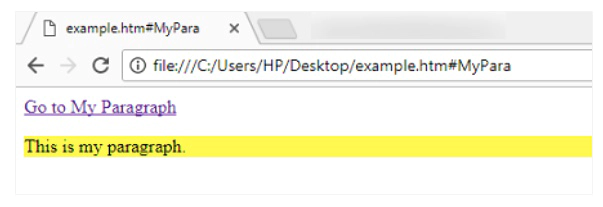
:target
यह class target elements पर CSS rules apply करने के लिए use की जाती है। जब किसी link में URL ना दे कर आप # symbol के साथ किसी दूसरे element का ID name pass करते है तो उस link को click करने पर focus उस element पर चल जाता है। इस situation में वह दूसरा element target element होता है जिसे design करने के लिए यह class use की जाती है।
इस class को निचे उदाहरण द्वारा समझाया जा रहा है।
<html>

<head>

<style>
:target
{
   background-color:yellow;
}
</style>
</head>

<body>
<a href="#MyPara">Go to My Paragraph</a>

<p id="MyPara"> This is my paragraph.</p>
</body>

</html>
ऊपर दिया गया उदाहरण निचे दिया गया output generate करता है।
:enabled
यह class ऐसे input elements को select करती है जो by default enabled हो जिन्हें use किया जा सकता है। इसे निचे उदाहरण द्वारा समझाया जा रहा है।
<html>

<head>
<style>
input:enabled
{
    background-color:yellow;
}
</style>
</head>

<body>
<form>
Name : <input type="text" name="Name"> <br />
Email : <input type="email" name="Email"><br />
Tel : <input type="number" name="Telephone" disabled><br />
<input type="submit" value="Submit">
</form>
</body>

</html>
ऊपर दिया गया उदाहरण निचे दिया गया output generate करता है।
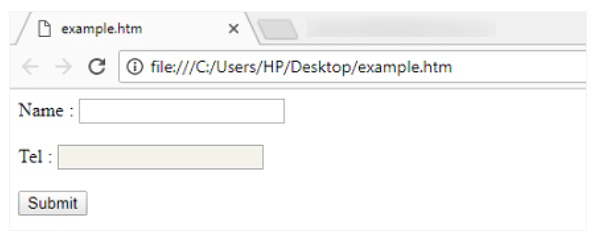
:disabled
यह class ऐसे elements को target करती है जो disabled है। इसे मुख्यतः form elements के साथ use किया जाता है। इसे निचे उदाहरण के माध्यम से समझाया जा रहा है।
<html>

<head>
<style>
input:disabled
{
   background:color:red;
}
</style>
</head>

<body>

<form>
Name : <input type="text" name="Name"><br /> <br />
Tel : <input type="number" name="Tel" disabled><br /> <br />
<input type="submit" value="Submit">
</form>

</body>
</html>
ऊपर दिया गया उदाहरण निचे दिया गया output generate करता है।
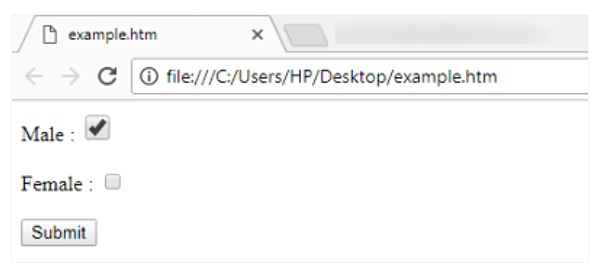
:checked
यह pseudo class ऐसे checkboxes को target करने के लिए use की जाती है जो check किये गए है। उदाहरण के लिए मान लीजिये आप check किये जाने पर checkbox का background color green show करना चाहते है तो इसके लिए आप इस class को use कर सकते है। इसे निचे उदाहरण द्वारा समझाया जा रहा है।
<html>

<head>
<style>
input:checked
{
   width:20px;
   height:20px;
}
</style>
</head>

<body>
<form>
Male : <input type="checkbox" name="male"><br /> <br />
Female : <input type="checkbox" name="female"><br /><br />
<input type="submit" value="Submit">
</form>
</body>

</html>
ऊपर दिया गया उदाहरण निचे दिया गया output generate करता है।
:indeterminate
यह pseudo class ऐसे form element को target करने के लिए use की जाती है जिसकी state indeterminate है।
:root
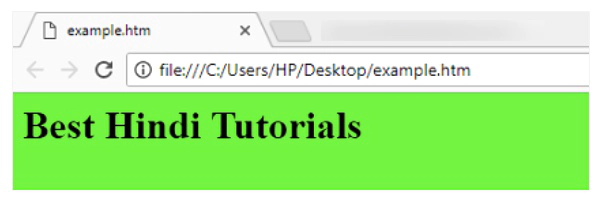
यह class document के root element को target करने के लिए use की जाती है। किसी भी HTML document में root element हमेशा element ही होता है। इसे निचे उदाहरण द्वारा समझाया जा रहा है।
<html>

<head>
<style>
:root
{
   background-color:lime;
   color:black;
}
</style>
</head>

<body>
<h1>Best Hindi Tutorials</h1>
</body>

</html>
ऊपर दिया गया उदाहरण निचे दिया गया output generate करता है।
:first-child
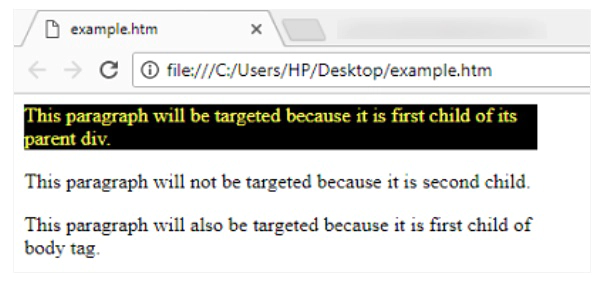
यह class specify किये गए selector को target करती है लेकिन सिर्फ तब ही जब वह अपने parent का first child हो। उदाहरण के लिए यदि आप document के ऐसे सभी paragraph का background color red करना चाहते है जो अपने parent के first child है तो इसके लिए आप इस pseudo class को use कर सकते है।
इसे निचे उदाहरण द्वारा समझया जा रहा है।
<html>

<head>
<style>
p
{
   width:400px;
}
p:first-child
{
    background-color:black;
    color:yellow;
}
</style>
</head>

<body>
<div>
<p>This paragraph will be targeted because it is first child of its parent div.</p>
<p>This paragraph will not be targeted because it is second child.</div>
</div>
<p>
This paragraph will also be targeted because it is first child of body tag.
</p>
</body>

</html>
ऊपर दिया गया उदाहरण निचे दिया गया output generate करता है।
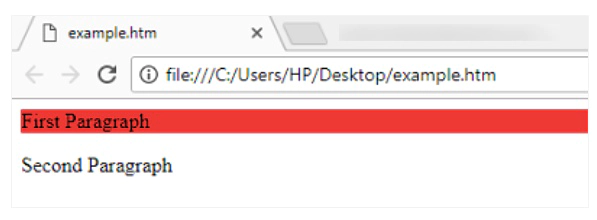
:last-child
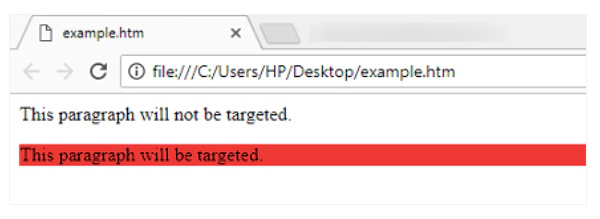
यह class specify किये गए selector को target करती है लेकिन सिर्फ जब की वह अपने parent को last child हो। उदाहरण के लिए यदि आप ऐसे सभी paragraphs को target करना चाहते जो अपने parent element के last child हो तो उस situation में आप इस class को use कर सकते है।
इसे निचे उदाहरण के द्वारा समझाया जा रहा है।
<html>

<head>
<style>
p:last-child
{
   background-color:red;
}
</style>
</head>

<body>
<div>
<p>This paragraph will not be targeted.</p>
<p>This paragraph will be targeted.</p>
</div>
</body>

</html>
ऊपर दिया गया उदाहरण निचे दिया गया output generate करता है।
:nth-child()
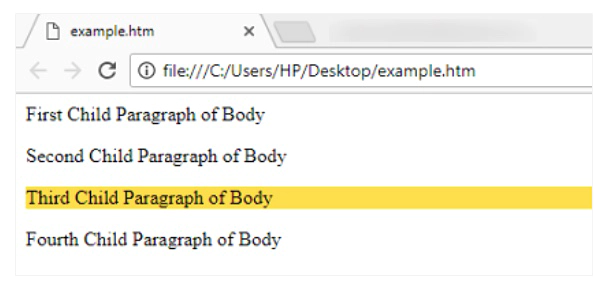
यह एक ऐसी pseudo class है जिसके द्वारा आप किसी भी number के child element को target कर सकते है। उदाहरण के लिए आप हर उस paragraph को target करना चाहते है जो अपने parent का third child है तो ऐसा करने के लिए आप इस pseudo class को use कर सकते है।
यह class सभी type के elements का एक ही order manage करती है। इसलिए यदि किसी element का third child paragraph नहीं है तो कोई भी element target नहीं होगा।
इस pseudo class में कोई number या expression argument के रूप में pass किया जाता है। जैसे की यदि आप third child element को target करना चाहते है तो आप 3 पास करेंगे। इस बात से कोई फर्क नहीं पड़ता है की parent किस type का है। इसे निचे उदाहरण द्वारा समझाया जा रहा है।
<html>

<head>
<style>
p:nth-child(3)
{
    background-color:gold;
}
</style>
</head>

<body>
<p>First Child Paragraph of Body</p>
<span>Second Child Paragraph of Body</span>
<p>Third Child Paragraph of Body</p>
<p>Fourth Child Paragraph of Body</p>
</body>

</html>
ऊपर दिया गया उदाहरण निचे दिया गया output generate करता है।
:nth-of-type()
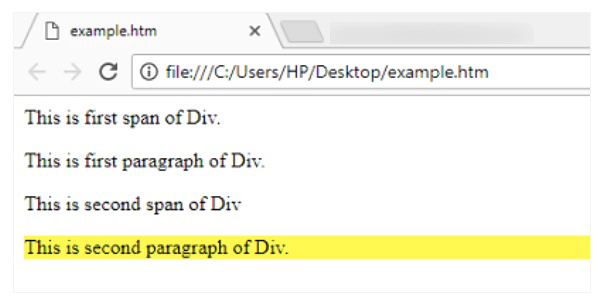
यह pseudo class किसी particular type के child element को target करती है। उदाहरण के लिए आप किसी particular type (p, span आदि) के सिर्फ हर second child element को target करना चाहते है। इसके लिए आप इस pseudo class को use कर सकते है। यह class उन situations में helpful है जब parent element के अंदर बहुत तरह के elements हो और आप किसी special type के element को ही target करना चाहते हो।
यह class हर type के child elements का अलग order manage करती है। जिससे उस type के सभी child elements में से specify की गयी position वाला child element target हो जाता है।
इसे निचे उदाहरण द्वारा समझाया जा रहा है।
<html>

<head>
<style>
p:nth-of-type(2)
{
   background-color:yellow;
}
</style>
</head>

<body>

<div>
<span>This is first span of Div.</span>
<p>This is first paragraph of Div.</p>
<span>This is second span of Div</span>
<p>This is second paragraph of Div.</p>

</div>

</body>
</html>
ऊपर दिया गया उदाहरण निचे दिया गया output generate करता है।
:first-of-type
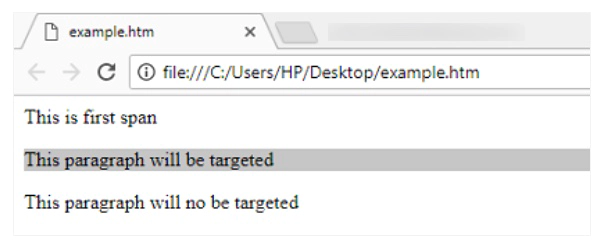
यह pseudo class किसी particular type के ऐसे element को target करती है जो अपने parent element का first child element होता है। इसे निचे उदाहरण द्वारा समझाया जा रहा है।
<html>

<head>
<style>
p:first-of-type
{
   background-color:silver;
}
</style>
</head>

<body>
<div>
<span>This is first span</span>
<p>This will be targeted</p>
<p>This will no be targeted</p>
</div>
</body>

</html>
ऊपर दिया गया उदाहरण निचे दिया गया output generate करता है।
:last-of-type
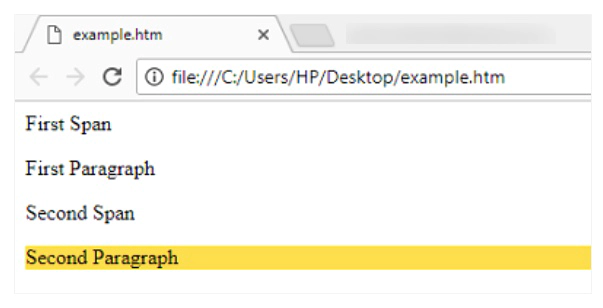
यह pseudo class किसी particular type के ऐसे element को target करती है जो अपने parent element का last child element होता है। इसे निचे उदाहरण द्वारा समझाया जा रहा है।
<html>

<head>
<style>
p:last-of-type
{
    background-color:gold;
}
</style>
</head>

<body>
<div>
<span>First Span</span>
<p>First Paragraph</p>
<span>Second Span</span>
<p>Second Paragraph</p>
</div>
</body>

</html>
ऊपर दिया गया उदाहरण निचे दिया गया output generate करता है।
:nth-last-of-type()
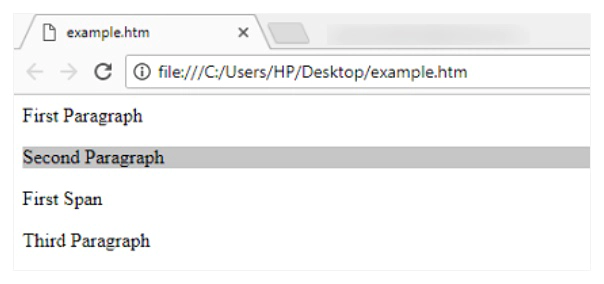
यह pseudo class nth-of-type() की तरह ही कार्य करती है लेकिन इसमें counting bottom side से की जाती है। इसे निचे उदाहरण द्वारा समझाया जा रहा है।
<html>

<head>
<style>
p:nth-last-of-type(2)
{
   background-color:silver;
}
</style>
</head>

<body>
<div>
<p>First Paragraph</p>
<p>Second Paragraph</p>
<span>First Span</span>
<p>Third Paragraph</p>
</div>
</body>

</html>
ऊपर दिया गया उदाहरण निचे दिया गया output generate करता है।
:nth-last-child()
यह pseudo class nth-child की तरह ही कार्य करती है लेकिन इसमें counting bottom side से की जाती है। इसे निचे उदाहरण द्वारा समझाया जा रहा है।
<html>

<head>
<style>
:nth-last-child(2)
{
   background-color:red;
}
</style>
</head>

<body>
<p>First Paragraph</p>
<p>Second Paragraph</p>
</body>

</html>
ऊपर दिया गया उदाहरण निचे दिया गया output generate करता है।
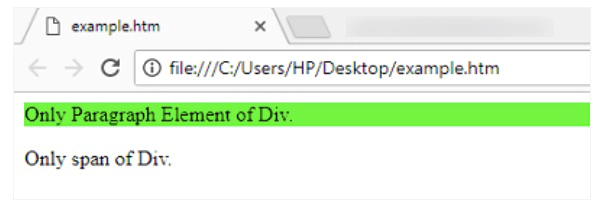
:only-of-type
यह pseudo class ऐसे element को target करती है जो अपने parent element का एक मात्र किसी particular type का child element होता है। इसे निचे उदाहरण द्वारा समझाया जा रहा है।
<html>

<head>
<style>
p:only-of-type
{
    background-color:green;
}
</style>
</head>

<body>
<div>
<p>Only Paragraph Element of Div.</p>
<span>Only Paragraph of Div.</span>
</div>
</body>

</html>
ऊपर दिया गया उदाहरण निचे दिया गया output generate करता है।
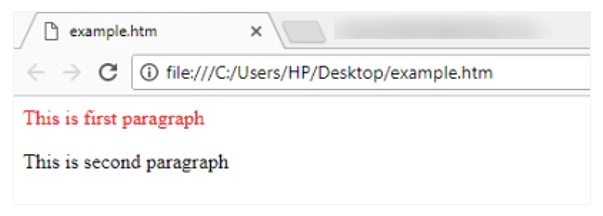
:not()
यह selector specify की गयी class को छोड़कर बाकि दूसरे elements पर apply होता है। उदाहरण के लिए आप किसी खास element जैसे की span को छोड़कर सभी elements का text color red करना चाहते है तो ऐसा करने के लिए इस pseudo class को use कर सकते है।
इसके अलावा यदि आप एक ही type के elements को target कर रहे है लेकिन उनमें से किसी particular element को आप CSS rule से exclude करना चाहते है तो उस particular element की ID आप इस pseudo class में pass कर सकते है।
इसे निचे उदाहरण द्वारा समझाया जा रहा है।
<html>

<head>
<style>
p:not(#MyPara)
{
    color:red;
}
</style>
</head>

<body>
<p>This is first paragraph</p>
<p id="MyPara">This is second paragraph</p>
</body>

</html>
ऊपर दिया गया उदाहरण निचे दिया गया output generate करता है।
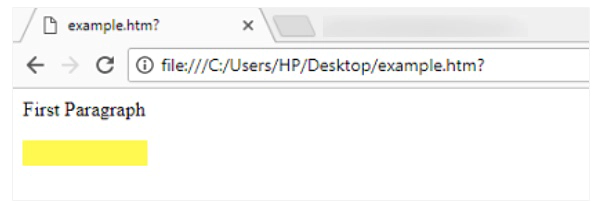
:empty
यह pseudo class ऐसे elements को target करने के लिए use की जाती है जिनके अंदर कोई content भी define नहीं होता है और जिनका कोई child element भी नहीं होता है। ऐसे elements empty elements कहलाते है। इसे नीच उदाहरण द्वारा समझाया जा रहा है।
<html>

<head>
<style>
p:empty
{
    width:100px;
    height:20px;
    background:yellow;
}
</style>
</head>

<body>
<p>First Paragraph</p>
<p></p>
</body>

</html>
जैसा की आप ऊपर दिए गए उदाहरण में देख सकते है empty element का background color तब ही display होगा जब आप उसकी width और height define करेंगे। क्योंकि empty elements में कोई content नहीं होता है इसलिए उनकी कोई width और height नहीं होती है। यह उदाहरण निचे दिया गया output generate करता है।
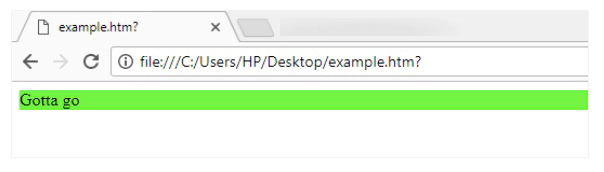
:lang
यह class ऐसे elements को select करने के लिए use की जाती है जिनमे lang attribute specify की गयी value के साथ define होता है। उदाहरण के लिए आप सिर्फ उन elements को target करना चाहते है जिनमें lang attribute की value hi (Hindi) define की गयी है। इसे निचे उदाहरण द्वारा समझाया जा रहा है।
<html>

<head>
<style>
p:lang(en)
</style>
</head>

<body>
<p lang="en-us">Gotta go</p>
</body>

</html>
ऊपर दिया गया उदाहरण निचे दिया गया output generate करता है।
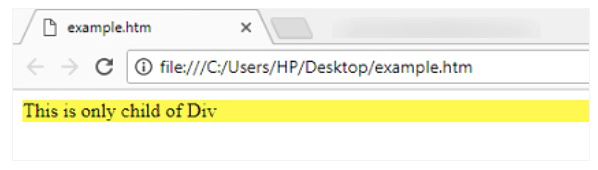
:only-child
यह pseudo class ऐसे element को target करती है जो parent element का एकमात्र child है। इसे निचे उदाहरण द्वारा समझाया जा रहा है।
<html>

<head>
<style>
p:only-child
{
   background-color:yellow;
}
</style>
</head>

<body>
<div>
<p>This is only child of Div</p>
</div>
</body>

</html>
ऊपर दिया गया उदाहरण निचे दिया गया output generate करता है।
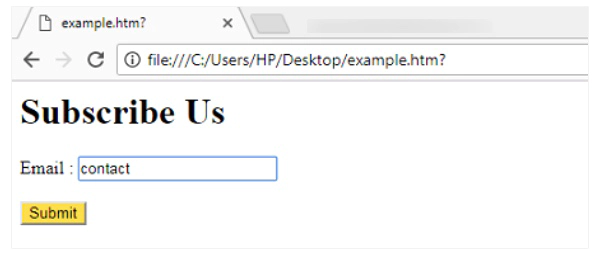
:valid
यह pseudo class ऐसे form elements को target करती है जिनके लिए validation perform होता है और जिनमें user द्वारा valid value input की गयी है। उदाहरण के लिए इस class द्वारा आप email input type में user द्वारा valid email address input किये जाने पर text box का background color green show कर सकते है।
इसे निचे उदाहरण द्वारा समझाया जा रहा है।
<html>

<head>
<style>
input:valid
{
   background-color:gold;
   color:black;
}
</style>
</head>

<body>
<h1>Subscribe Us</h1>
<form>
<input type="email" name="Email"> <br />
<input type="submit" value="Submit">
</form>
</body>

</html>
ऊपर दिए गए उदाहरण में जब user valid email address input करेगा तो text box का background color gold होता है और यदि email address format valid नहीं है तो text box का background color white होगा। यह उदाहरण निचे दिया गया output generate करता है।
:invalid
यह pseudo class ऐसे form elements को target करती है जिनके लिए validation perform किया जाता है और जिनमें invalid value input की गयी है। उदाहरण के लिए इस class द्वारा आप email input type में invalid email address input किये जाने पर background color red show कर सकते है।
इसे निचे उदाहरण द्वारा समझाया जा रहा है।
<html>

<head>
<style>
input:invalid
{
   background-color:red;
}
</style>
</head>

<body>
<form>
<input type="email" name="Email" > <br />
<input type="submit" value="Submit">
</form>
</body>

</html>
ऊपर दिया गया उदाहरण निचे दिया गया output generate करता है।
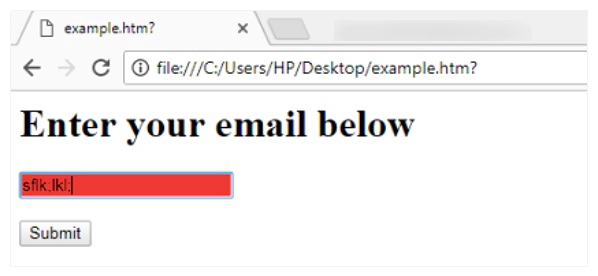
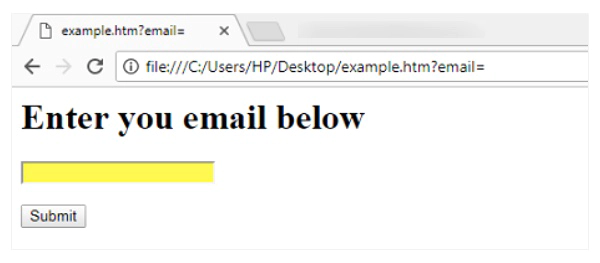
:required
यह pseudo class ऐसे form elements को target करती है जिनके लिए required attribute define किया गया है। इसे निचे उदाहरण द्वारा समझाया जा रहा है।
<html>

<head>
<style>
input:required
{
   background-color:yellow;
}
</style>
</head>

<body>
<h1>Enter you email below</h1>
<form>
<input type="email" name="email" required> <br />
<input type="submit" value="Submit">
</form>
</body>

</html>
ऊपर दिया गया उदाहरण निचे दिया output generate करता है।
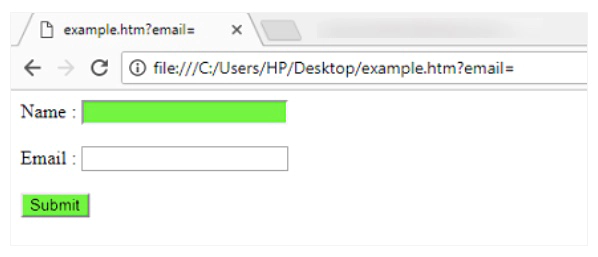
:optional
यह pseudo class ऐसे form elements को target करती है जिनके लिए required attribute नहीं define किया गया है। इसे निचे उदाहरण द्वारा समझाया जा रहा है।
<html>

<head>
<style>
input:optional
{
    background-color:lime;
}
</style>
</head>

<body>
<form>
Name : <input type="text" name="Name"><br /> <br />
Email : <input type="email" name="Email" required><br /> <br />
<input type="submit" value="Submit">
</form>
</body>

</html>
ऊपर दिया गया उदाहरण निचे दिया गया output generate करता है।
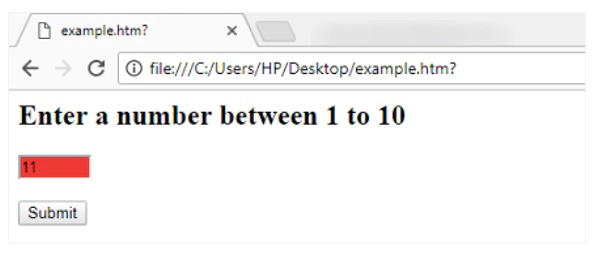
:out-of-range
यह pseudo class ऐसे form elements को target करती है जिनकी value out of range input की गयी है। लेकिन यह सिर्फ उन्ही input elements के लिए work करेगा जिनमें min और max attributes द्वारा range define की गयी है। इसे निचे उदाहरण द्वारा समझाया जा रहा है।
<html>

<head>
<style>
input:out-of-range
{
   background-color:red;
}
</style>
</head>

<body>
<form>
<h2>Enter a number between 1 to 10</h2>
<input type="number" min="0" max="10"><br />
<input type="submit" value="Submit">
</form>
</body>

</html>
ऊपर दिया गया उदाहरण निचे दिया गया output generate करता है।
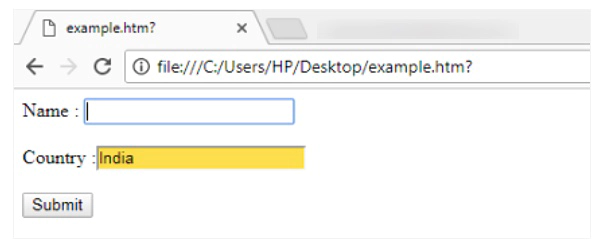
:read-only
यह pseudo class ऐसे input elements को target करती है जिनके लिए readonly attribute define किया गया है। इसे निचे उदाहरण द्वारा समझाया जा रहा है।
<html>

<head>
<style>
input:read-only
{
    background-color:gold;
    color:black;
}
</style>
</head>

<body>
<form>
Name : <input type="text" name="name"<br />
Country :<input type="text" value="India" readonly><br />
<input type="submit" value="Submit">
</form>
</body>

</html>
ऊपर दिया गया उदाहरण निचे दिया गया output generate करता है।
:read-write
यह pseudo class ऐसे input elements को target करती है जिनके लिए readonly attribute नहीं define किया गया है।